Since I really intend to use my Arts & Crafts section for sharing crochet patterns with y’all, I thought it would be beneficial to start off with a crochet boot camp. Each part will introduce a new skill or technique for crocheting that I personally think are the most helpful to know. Part 1 will introduce choosing the right yarn and hook for your project, creating a slip knot, and creating your chain. I also made a video to go along with this tutorial, but it’s my first time creating a YouTube video, so please forgive me if it’s absolutely terrible.
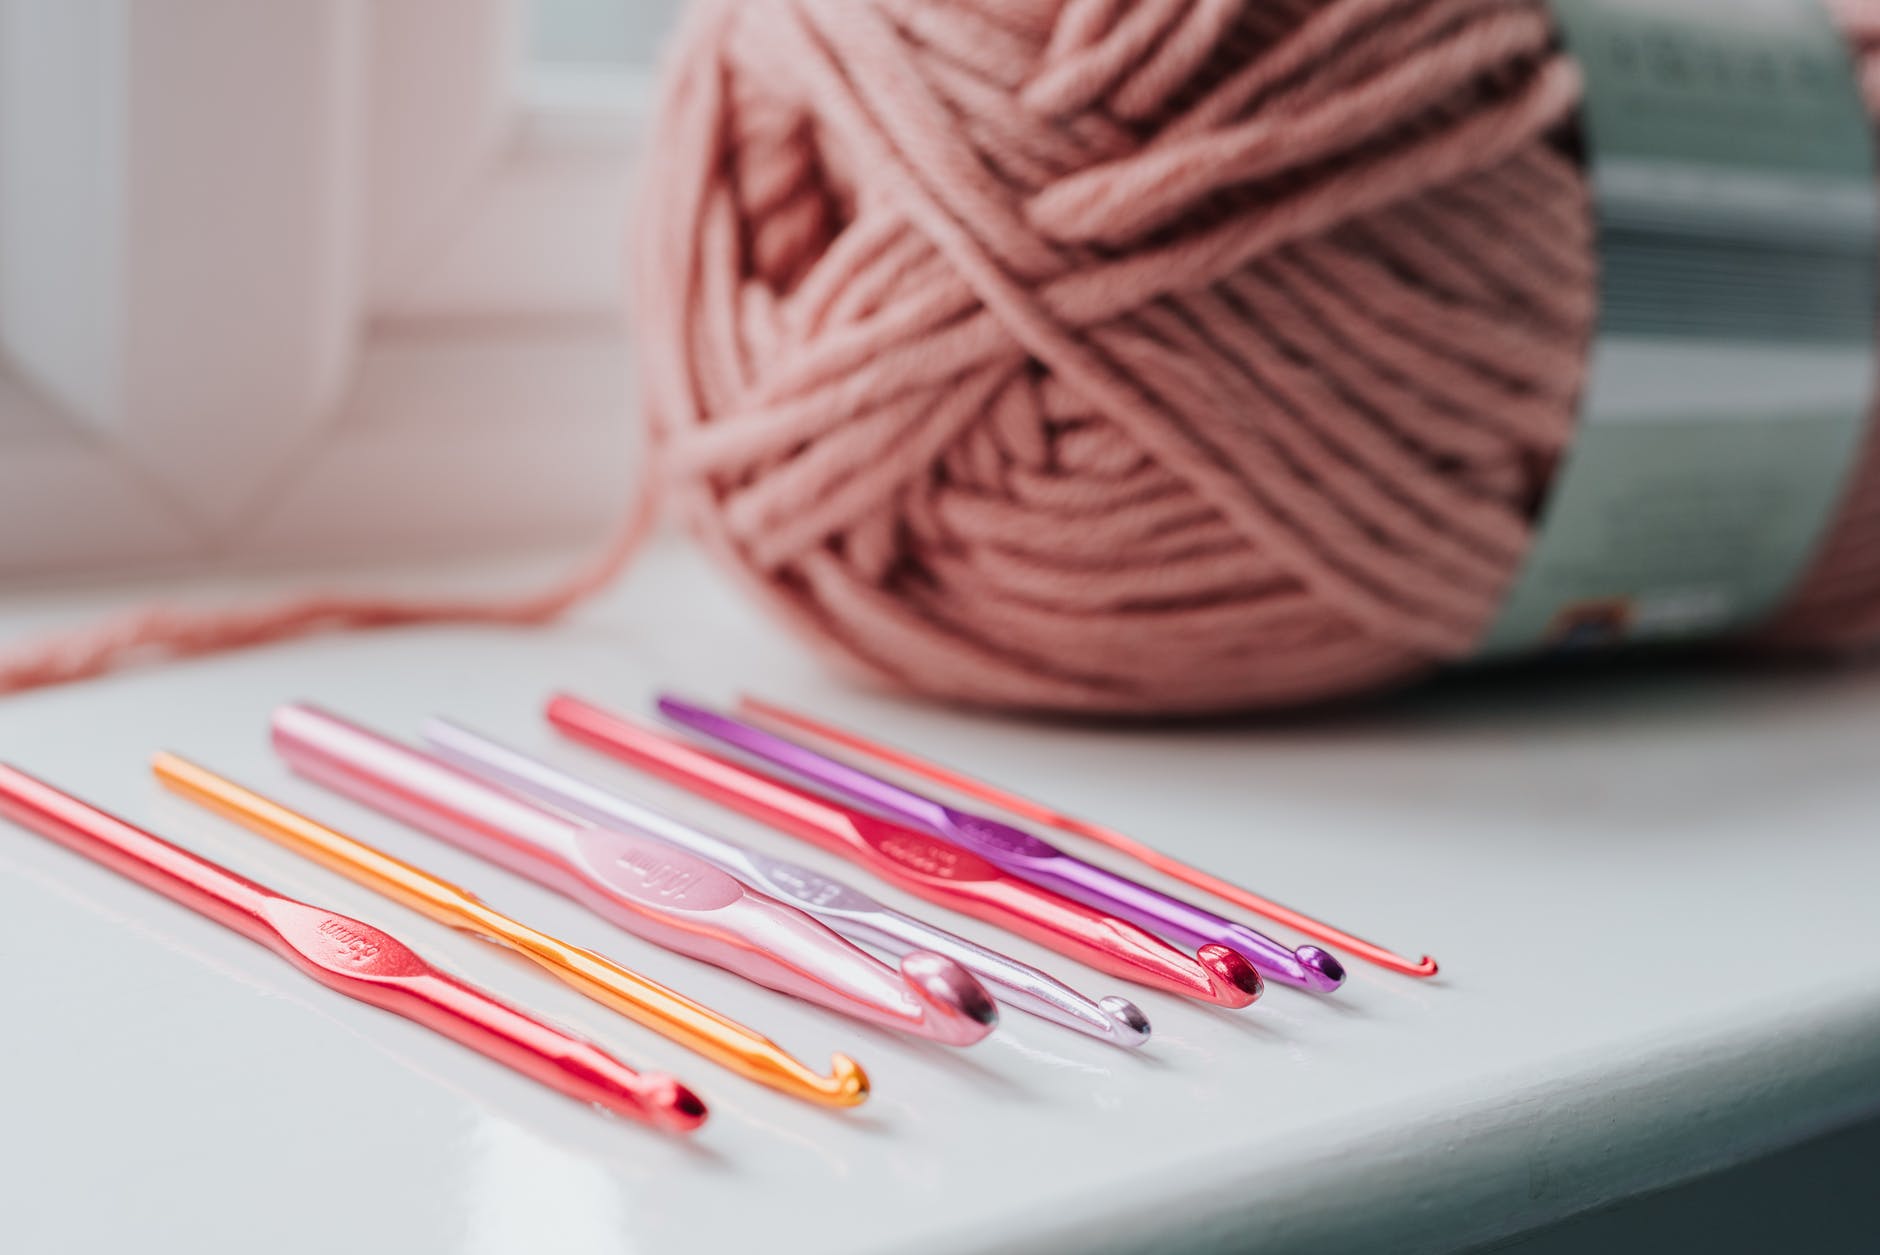
The first and most important part to starting any crochet project is choosing the right hook and yarn. Yarn is classified into a range of 0 to 7 based on their yarn weight, or thickness. Yarn with a weight of 0 is the thinnest and 7 is the thickest. Each different weight has an associated crochet hook size that works best with that yarn. It is very important to match your yarn to the correct hook size. If you use a hook that is too small, your product will end up looking very thick and crowded, while a hook that is too large will create a product with lots of loose gaps. Most patterns include the yarn weight and hook size they used, so best practice is to work off of that.
Another good practice for choosing the right thickness of yarn is making a swatch. Swatches are basically little practice runs to see the size of your yarn. This helps to make sure your product turns out the right size (very important if you’re making clothes). A swatch will include the number of crochets and number of rows and the size of the product.

Once you have the right yarn and hook, you’re ready to start crocheting. From here, I really recommend watching the video because it’s a lot easier to watch me do it than to try to read my explanation of it.
Find the “Creating a Slip Knot” tutorial at 04:41 above
To start you want to create a slip knot. This is basically a movable knot that you can loosen and tighten at will. Watch how to make one above. After that, you’ll had your knot onto your hook and pull it tight.
Next, you need chain stitches. Your chains will basically be the width of your work, since all of your stitches will work up from the chains you make in the first row. For this tutorial, I made ten chains, but you can make however many you need for your product. For example, when I crochet a top, it usually has around 80 or 90 chains, and a blanket would have something like 200 or 300 chains.
Find the “Creating Chain Stitches” tutorial at 06:37 above
And, that’s it! For this section at least. Stay tuned for Part 2: All of the basic stitches and finishing off!